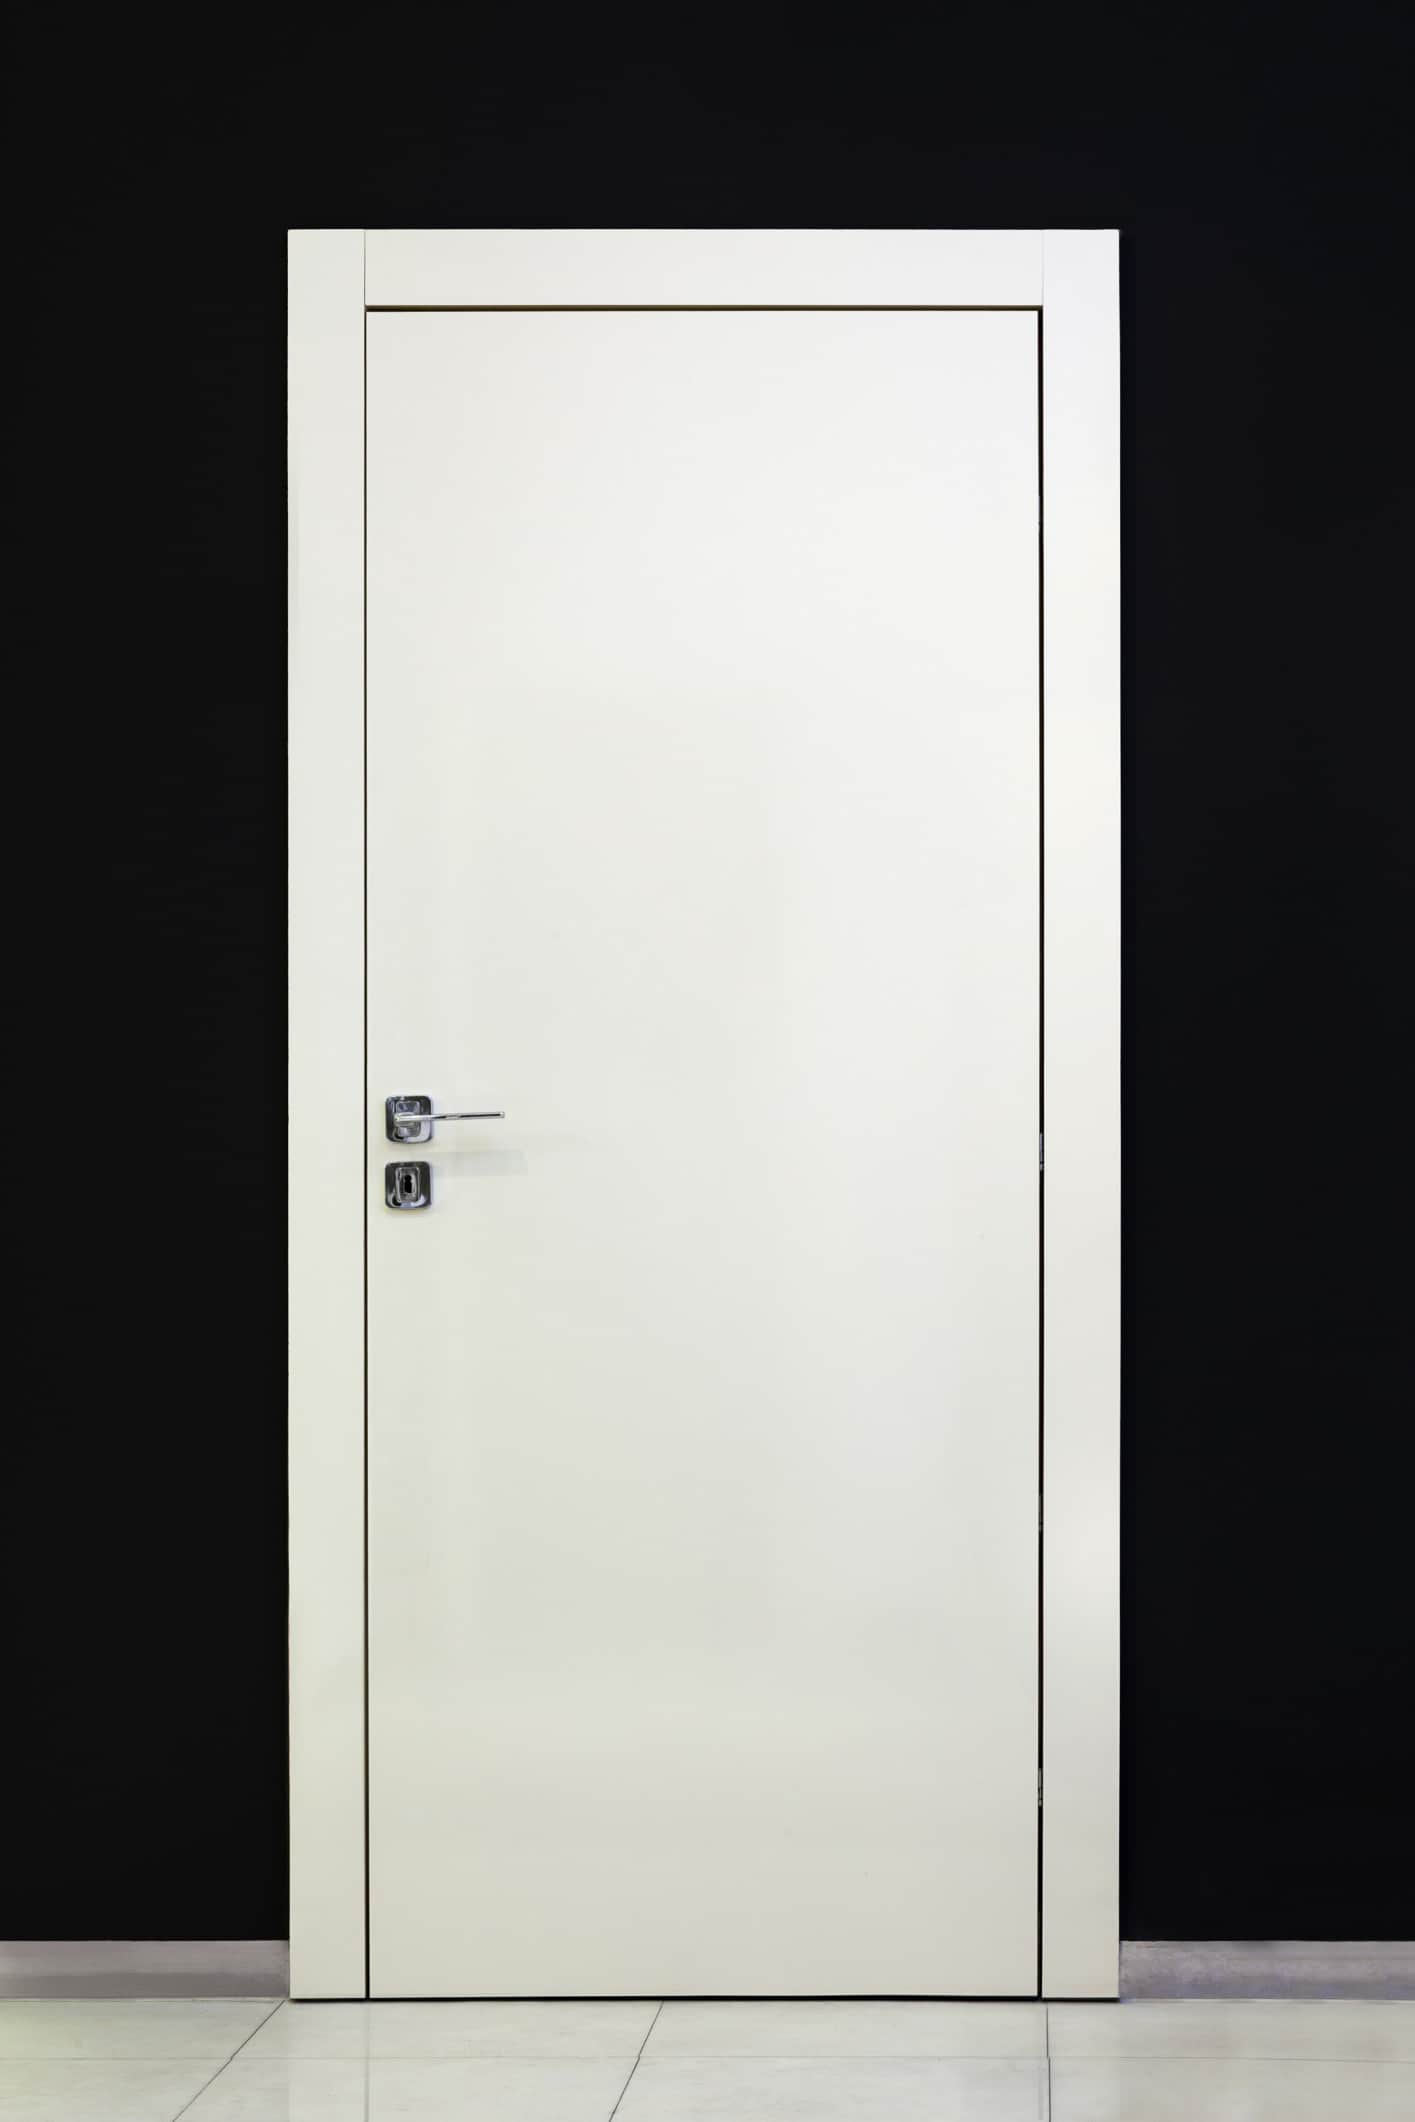
Installing a flush door is a great way to upgrade the look and feel of your home. It can help brighten up a room, reduce sound levels, and provide an easy-to-clean surface. However, installing a flush door is no small task.
It requires careful planning, precision measurements, and experience with basic carpentry tools. Read on to learn how you can successfully install a flush door in your home!
1. Gather the Right Tools and Materials
Before you begin any project, it’s important to have the right tools and materials at your disposal. For this project, you will need a hammer, drill/driver combo set, chisel, utility knife, tape measurer/leveler, and wood screws.
As for materials, you will need an interior flush door slab (pre-hung doors are not recommended), 2x4s for the frame of the door opening (cut to size), shims for leveling the frame (if necessary), weatherstripping (optional), hinges for mounting the door slab onto the frame (3 sets recommended if it’s not pre-mounted) and finishing nails or screws for attaching weatherstripping or hinge plates.
2. Build the Frame
Once you have all of your supplies ready to go, it’s time to build the frame that will hold your new flush door in place. Start by measuring out the dimensions of your doorway so that you know exactly what size frame pieces you need to cut from your 2x4s.
Once they are cut to size, use wood screws or nails to secure them together into an L shape with 90-degree corners.
If necessary, use shims underneath each corner of the frame when attaching it to walls or other structures in order to make sure that it is level before continuing on with your project.
After attaching it securely into place with wood screws or nails into wall studs (or other appropriate structural supports), double-check that all four sides are perfectly level before moving on to the next step.
3. Mount the Door Slab
Now it’s time to mount your new flush door slab onto the frame! The easiest way is by using hinges; most modern doors come pre-drilled for 3 hinges per side (6 total).
But if yours does not come pre-drilled then use a drill/driver combo set with proper bit sizes for pilot holes before securing each hinge plate onto each side of both frames using finishing nails or small wood screws.
After that’s done, attach one end of each hinge into its respective hole on one side of your new flush door slab then repeat this process on the opposite side before carefully hanging up your entire assembly onto its intended space.
Make sure not to leave any gaps between frames and walls as this could lead to air infiltration and potential damage over time.
4. Finish Up
Finally, once everything is secured properly, add weatherstripping around all edges of frames if desired before adding finishing touches such as doorknobs/handle sets, decorative moldings, etc. With that, congratulations! You now have successfully installed a brand-new flush door in your home!
Related Topic: What Are Flush Doors? Advantages & Disadvantages
How To Install A Flush Door Handle?
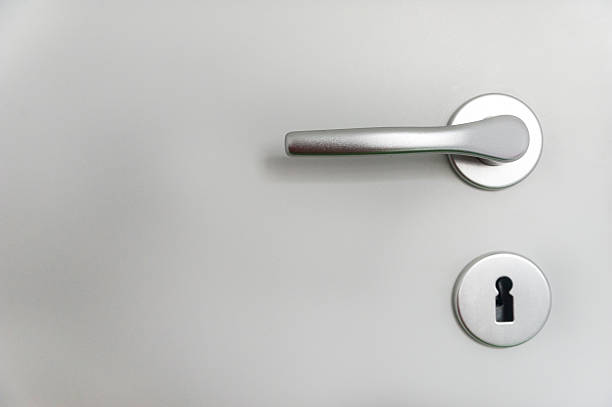
1. Gather your Materials
In order to install a flush door handle, you’ll need the following materials: a drill, screwdriver, door latch assembly, two screws, and the flush door handle of choice. Make sure all items are accounted for before beginning the installation process.
2. Prepare the area around the Door
Take some time to clean up any dust or dirt that may have accumulated around the area where you’re installing the flush door handle. This will ensure that all components fit snugly and securely into place when installed.
3. Mark and drill pilot holes for screws
Use a pencil or marker to mark where the screws will go on either side of the door latch assembly so that they line up with pre-drilled holes in both parts of the latch assembly itself and on either side of your chosen flush door handle too.
Once both pilot holes are marked out and drilled, use your screwdriver to attach each side of the latch assembly together with one screw so that it is firmly secured in place next to your chosen flush door handle.
4. Install
Install your chosen flush door handle into place by lining up its pre-drilled hole with one of those from step 3, using another screw from step 1 to secure it into position once this is done properly and securely repeat this process with the second pre-drilled hole from step 3 as well as with second screw also from step 1 until everything is firmly secured in place as needed
For best results always make sure that all components are tightly fastened together using appropriate tools per the manufacturer’s specifications.
5. Testing
Test out your new install by gently pushing down on both sides of your chosen flush door handle while making sure that its respective latch assembly is still firmly secured onto its frame if all goes well then congratulations you have successfully installed a new flush door handle onto your home’s entryway!
Installing a new flush Door Handle doesn’t have to be difficult or overwhelming.
just follow these five simple steps and you’ll be able to complete this project like an expert! It’s important to take special care when drilling pilot holes and attaching screws during installation so as not to damage any surrounding surfaces or components.
If unsure at any point it’s always best practice to stop what you’re doing and consult an experienced professional before proceeding further with any task related to home repairs or renovations!
Conclusion
Installing a new flush door is no small task – but armed with these tips and tricks anyone can do it! With careful planning and precise measurements, you can easily upgrade any space in your home without breaking too much sweat!
Just remember – take accurate measurements first; build sturdy frames; mount doors correctly; add weatherstripping as needed; and voila! You’ve got yourself brand new interior doors! Good luck!
Related Topic: How To Hang A Wreath On A Fiberglass Door? 3 Steps
FAQs
Is a flush door good for main door?
Flush doors are estimated to be one of the most economical, efficient, and aesthetically pleasing options when it comes to choosing a main door. These doors feature equal thickness throughout its panel and have a smooth surface finish.
Flush doors are strong and durable, making them one of the top go-to choices for main door installations. Additionally, its classic design offers an array of styles and finishes that are sure to add some extra glamour to any home entrance.
How is a flush door constructed?
A flush door is constructed using plywood, medium-density fibreboard, or composite core sandwiched between two layers of solid timber on the stiles and rails. The edges are sealed together with a special adhesive to ensure structural strength and waterproofing.
This type of door offers improved insulation and soundproofing, making it perfect for places where privacy is a must.
Are flush doors strong?
Flush doors are a common type of door and are an affordable choice for many households. They are mainly made from particleboard with steel or wooden frames, giving them good durability. However, depending on the quality used, they can vary in strength; some higher-grade flush doors are suitable for use on external doors as they have greater insulation and stability.
Ultimately though, flush doors offer basic security and are generally suitable for low to medium-traffic areas in the home.
Related Topic: How To Refinish A Fiberglass Door: 4 Easy Steps
2 thoughts on “How To Install A Flush Door? 4 Steps”