Painting the doors in your home is a great way to refresh the look of any room. With the right tools and materials, you can easily paint your flush door with a roller.
This guide will walk you through everything you need to know about painting your door with a roller, including what kind of roller to use, how to prepare the surface, and how to apply the paint.
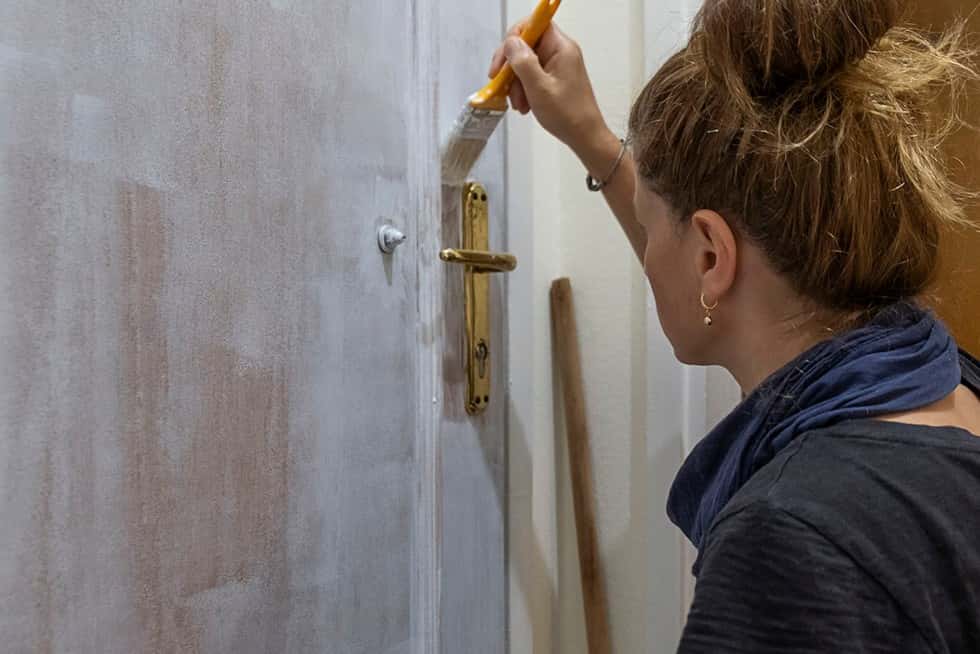
1. Choosing a Roller
Credit: Getty Images/iStockphoto
Before you start painting, it’s important that you select the right roller for the job. When painting flush doors, most experts recommend using an 11-inch or 12-inch foam roller.
Foam rollers have soft, lightweight bristles that make them perfect for getting into tight crevices and ensuring good coverage on smooth surfaces. Plus, they won’t leave behind any brush marks as traditional rollers might.
Best Roller for Painting Doors
Painting your doors can be a great way to give them a new look, but to make sure the job is done properly you’ll need the right roller.
An angled sash roller is probably the best option for painting doors as it’s specifically designed to get into tight corners and around delicate window frames.
In addition to that, its short pile length works well in preventing drips and paint runs, so even after just one coat of paint, you’ll achieve an evenly painted door with perfectly straight lines.
If doors are not your only painting project on hand, an extension arm can attach to the sash roller making it ideal for painting walls and ceilings too.
Foam or Microfiber roller for Doors?
Foam or microfiber rollers are a great option for bringing an attractive finish to doors. Foam rollers are ideal for painting on large surfaces and producing a precise, uniform color. The foam roller also leaves less mess as the lint and dust that caught in the roller do not stick onto the paint film.
Microfiber roller techniques allow you to work quickly and more precisely than you normally can with a brush, especially if you’re painting doors with mixed material surfaces like wood, metal, or plastic.
Whether you go for foam or microfiber, both are excellent tools to create a professional look on your door.
2. Choosing the Paint Type
When choosing a paint type for a flush door, it is important to consider how much protection the paint needs to provide in terms of appearance as well as moisture and weather resistance. One should take into account what kind of environment the door will be exposed to, whether this is indoor or outdoor.
Additionally, different paints offer different levels of durability and flexibility. Water-based paints are often the preferred choice due to their ease of use and low level of environmental impact.
These paints have good adhesion qualities, are quick-drying, and have low odor making them suitable for most interior projects.
Oil-based paints such as alkyds tend to be more durable and last longer than water-based alternatives although they are more difficult to apply and may require thinning before application.
Ultimately, it will depend on the project requirements and your own personal preference for which type of paint you use for your flush door.
Best Paint Types For Doors
Whether you are looking to spruce up an existing door, or you are picking out a freshly made one, selecting the right paint is a crucial component. Different types of doors require varying paints to best suit their materials and intended use.
For instance, an exterior door should be painted with a durable acrylic-latex type that is able to withstand temperature fluctuations.
On the other hand, painting a closet door requires less in terms of durability and can be done with any basic latex paint. Generally, gloss paints provide excellent coverage and shine as well as durability while flat paints offer increased coverage but less protection against scratches.
Of course, always make sure your choice of paint matches the material you are working with so that it adheres properly across time.
3. Preparing the Surface
Once you’ve chosen your roller, it’s time to get started on prepping your door for its new coat of paint. Start by wiping down the entire surface of your door with some warm soapy water and a cloth. This will help remove any dirt or dust that has accumulated over time.
Next, use a putty knife or sandpaper to fill in any holes or cracks in the door and lightly sand down any rough spots. Then wipe down again with a damp cloth before you start painting.
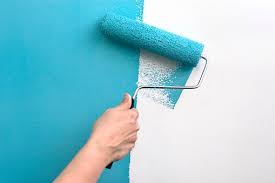
4. Applying Paint
Once your surface is prepped and dry, it’s time to begin applying paint! Begin by pouring some paint into an appropriately sized tray.
Dip your foam roller into the paint until it is evenly saturated but not dripping wet you don’t want too much paint on there as it can cause streaks and uneven coverage when applied to the door.
Starting at one end of your door, roll up and down in even strokes until you’ve covered all areas of the door evenly with two coats of paint (allowing each coat time to dry before adding another). Once finished, add some painter’s tape around the edges for an extra polished look!
Related Topic: How To Install A Flush Door? 4 Steps
Conclusion
Painting flush doors can be intimidating if you’ve never done it before but don’t worry! By following this guide step-by-step, you’ll be sure to have success in no time at all! Remember to take your time when selecting which type of roller is best for your needs.
Choose something lightweight but still densely packed enough for even coverage over large surfaces like those found on flush doors. Preparing the surface properly is key as well.
So don’t forget those extra steps like wiping down with soap and water and filling holes/cracks before beginning! And lastly don’t forget to tape around all edges once finished for an extra polished look! Have fun painting!
Related Topic: What Are Flush Doors? Advantages & Disadvantages
FAQs
Is it better to paint doors with a brush or roller?
Painting doors with a brush or roller is really a matter of preference. Brushes can create a more precise finish, whereas rollers provide even coverage with minimal effort. That said, painting a door with a roller usually involves fewer strokes and provides better coverage of difficult-to-reach spots.
Ultimately the choice between brush and roller depends on the desired result and the amount of time you want to spend on your project.
Should I use a foam roller to paint doors?
Using a foam roller is a great choice for painting doors. It is designed to provide an even, smooth finish in one pass, saving time and energy compared to other painting methods. The closed cell surface also helps reduce drips and splatter. For a perfectly painted door, consider giving the foam roller a try.
2 thoughts on “How To Paint A Flush Door With A Roller? Safely!”